User Guide
This is the user guide of OSC <COMPONENT>.
Onboarding
- Register for an account on login page
- Verify email via confirmation link that will be sent to your email
- To access full features, a site admin will have to enable you
Enabling user
- Login to a admin account
- Go to admin -> user management tab that is located on the side bar
- Locate new user and enable them by clicking the switch on the Enabled column
Group Management
Users can create new groups that allows you to organize and share workflows easily.
Creating new group
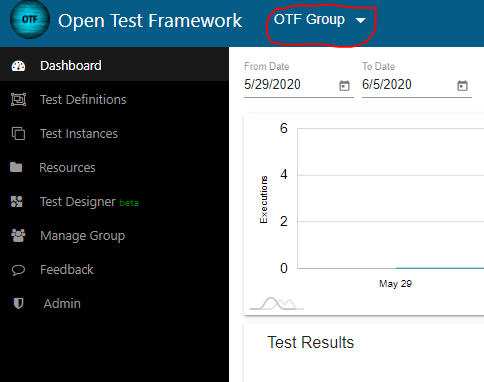
- select the group tab (located on the top) and click the + new group sign
Fill in basic information about the new group
Once the group is created, the creator will automatically be a admin for that group
Managing group
Go to the group you would like to manage via the group tab located on the top
select Manage Group Tab via side bar and the following feature will be available
- Add/remove new users
- Create roles with specific permissions
- Edit roles
- Manage user’s roles
Uploading A Workflow
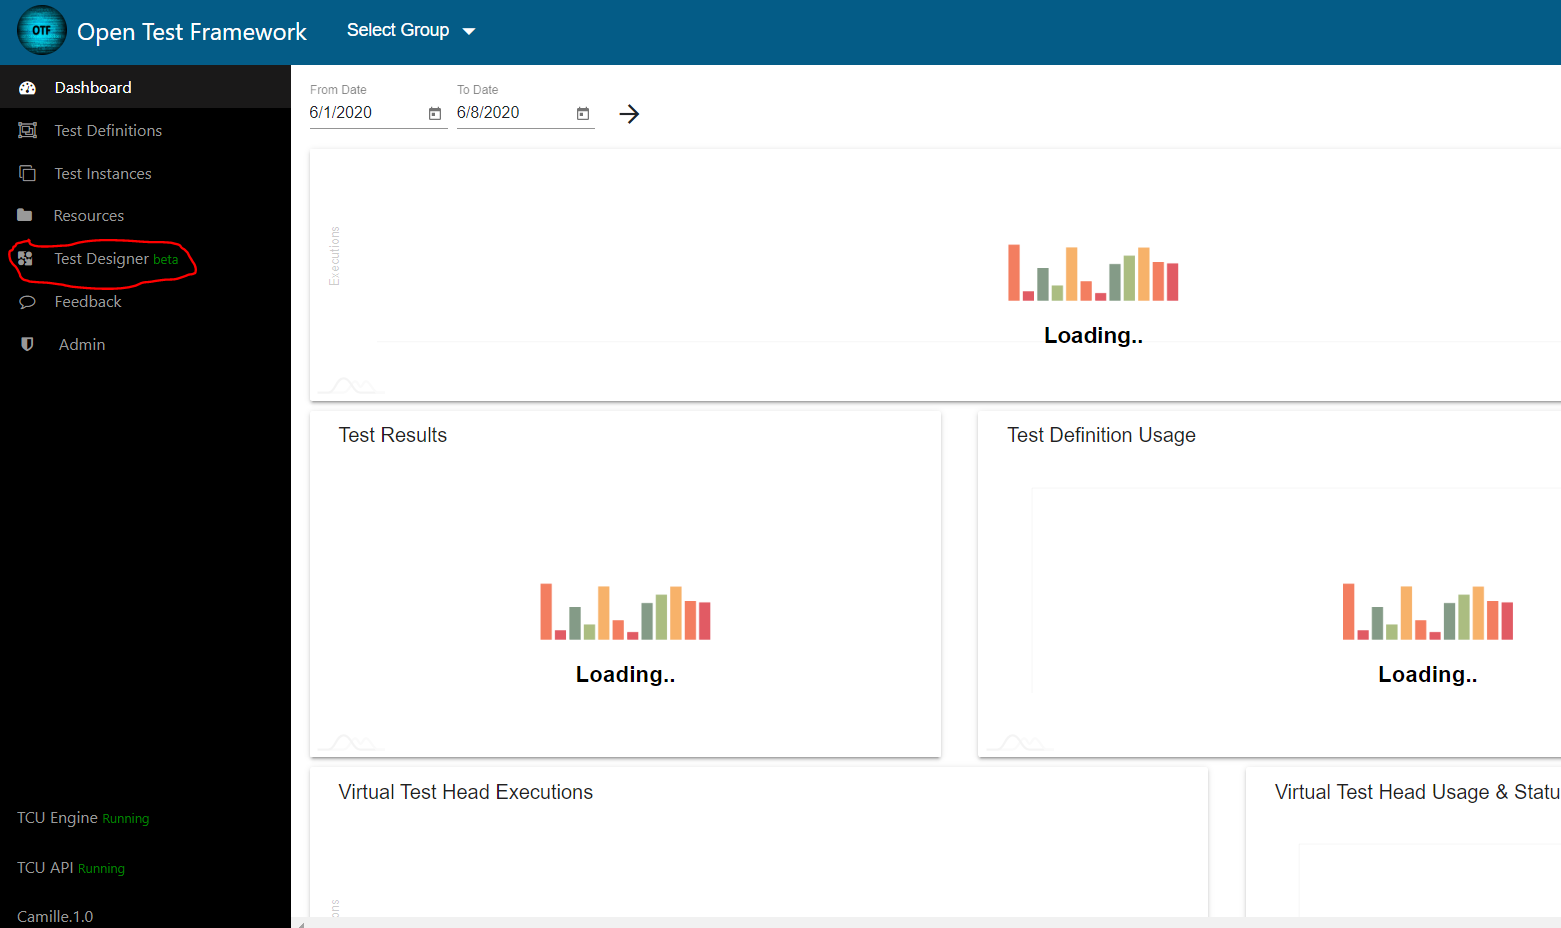
In order to upload a workflow, select the “Test Designer” tab in the left side bar.
Once in the Modeler view, on the top left, select the folder icon which will open up the file explorer.
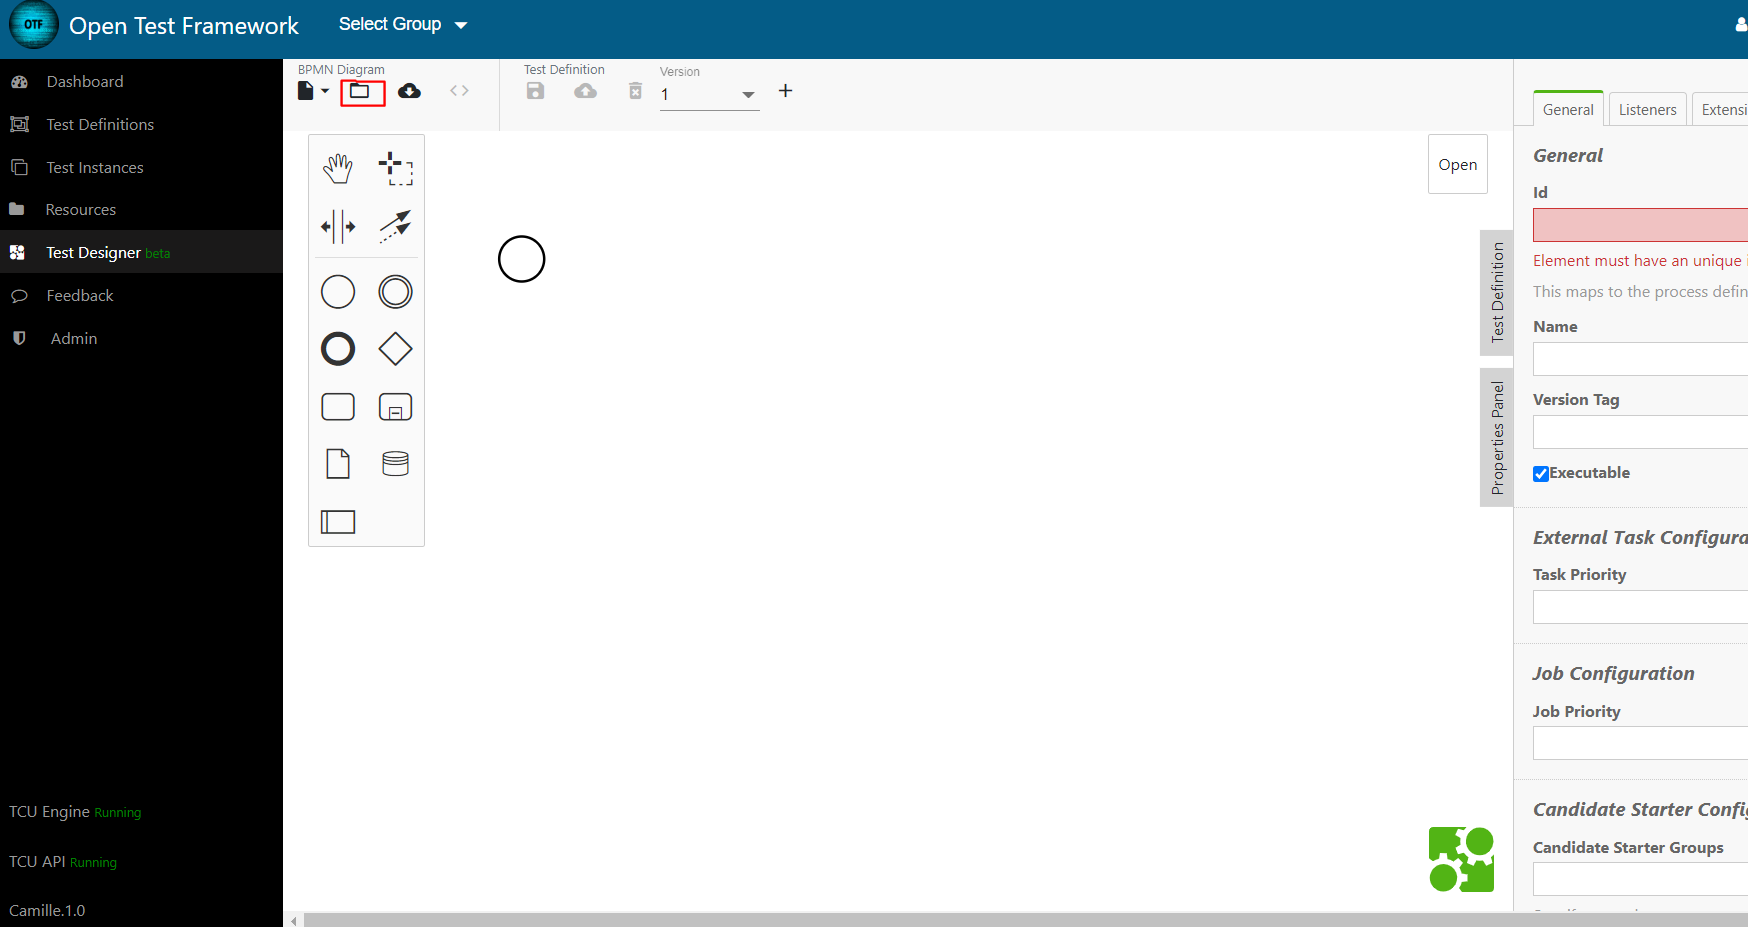
Choose a local bpmn file to upload. After the bpmn is loaded into the modeler, go to the “Test Definitions” panel on the right hand side and enter a Name and Description.
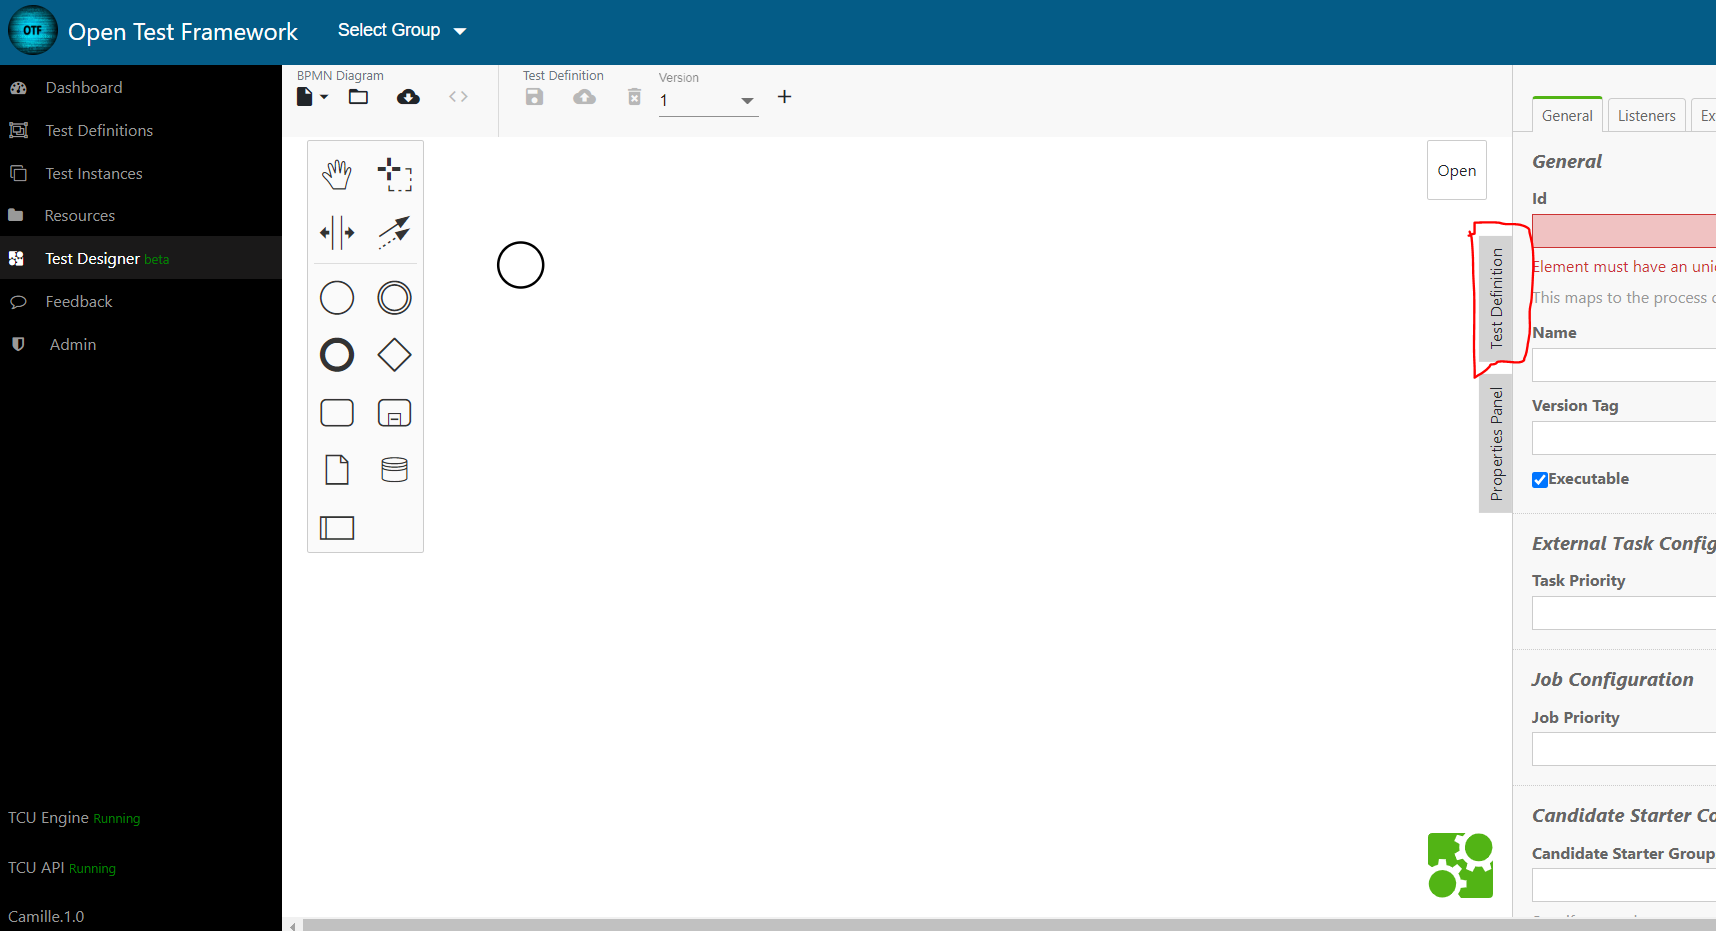
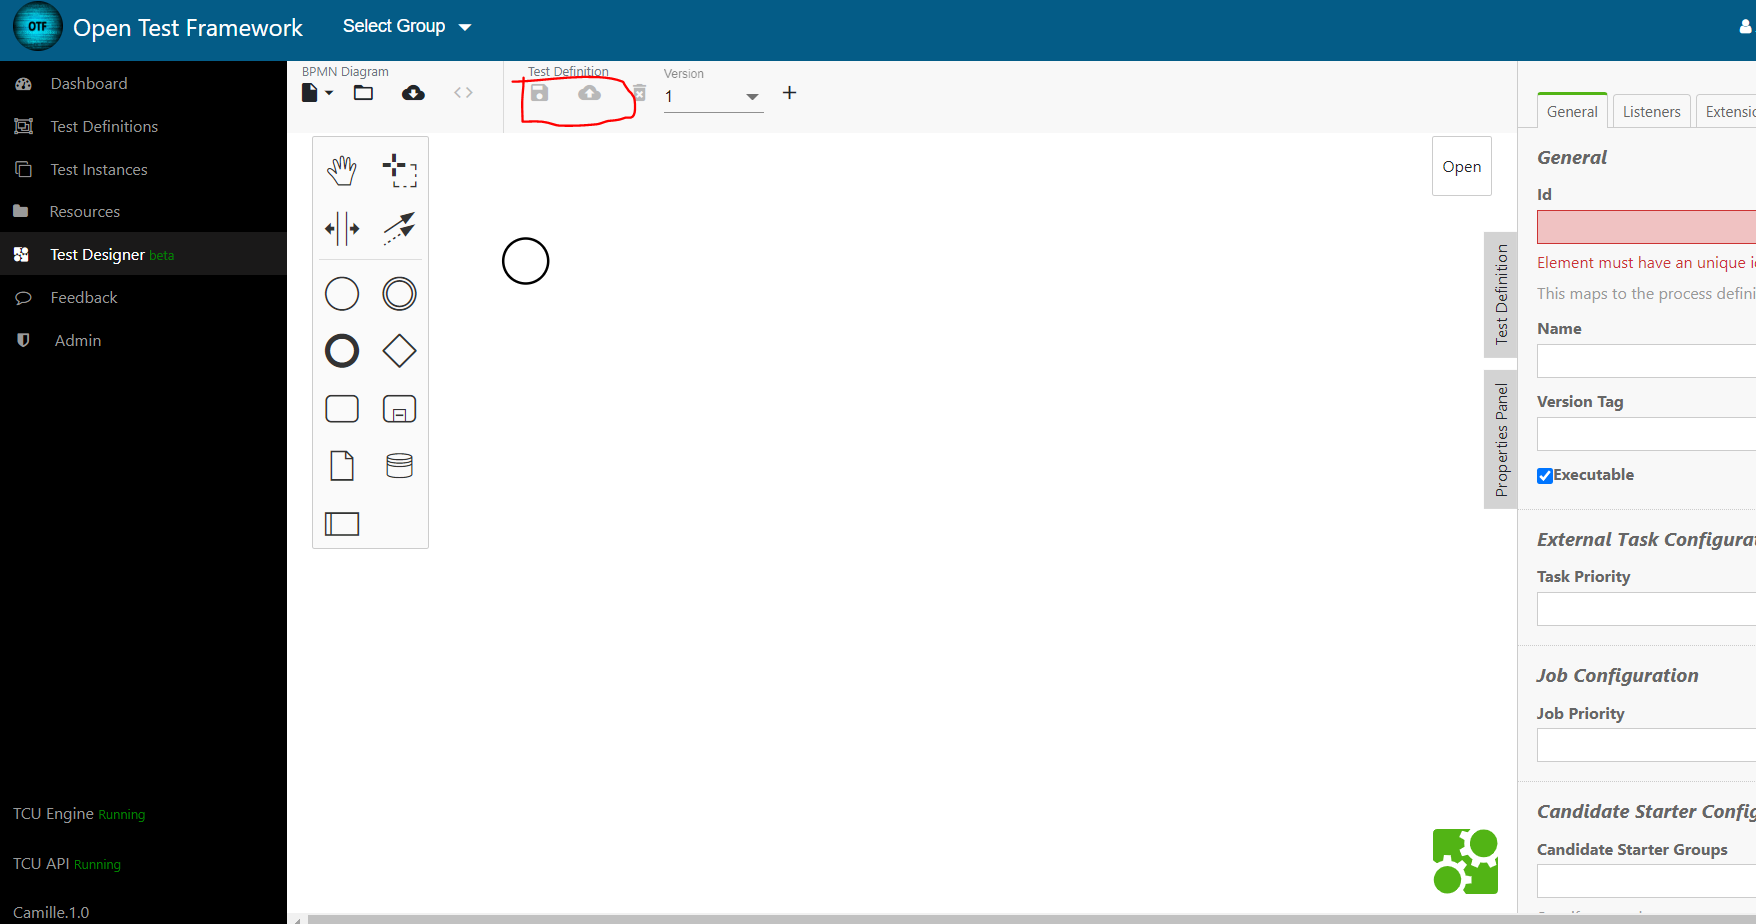
By default, the group currently selected in the platform will be associated with the workflow. If a different group is desired, that can be selected also within the “Test Definition” panel on the right hand side. Any specific test Input templates can also be included within this panel. When finished, the save icon can be pressed in the top bar on the left side to save the actual workflow. Next to the save icon is the deploy icon which is used to deploy the workflow.
Creating a Test Instance
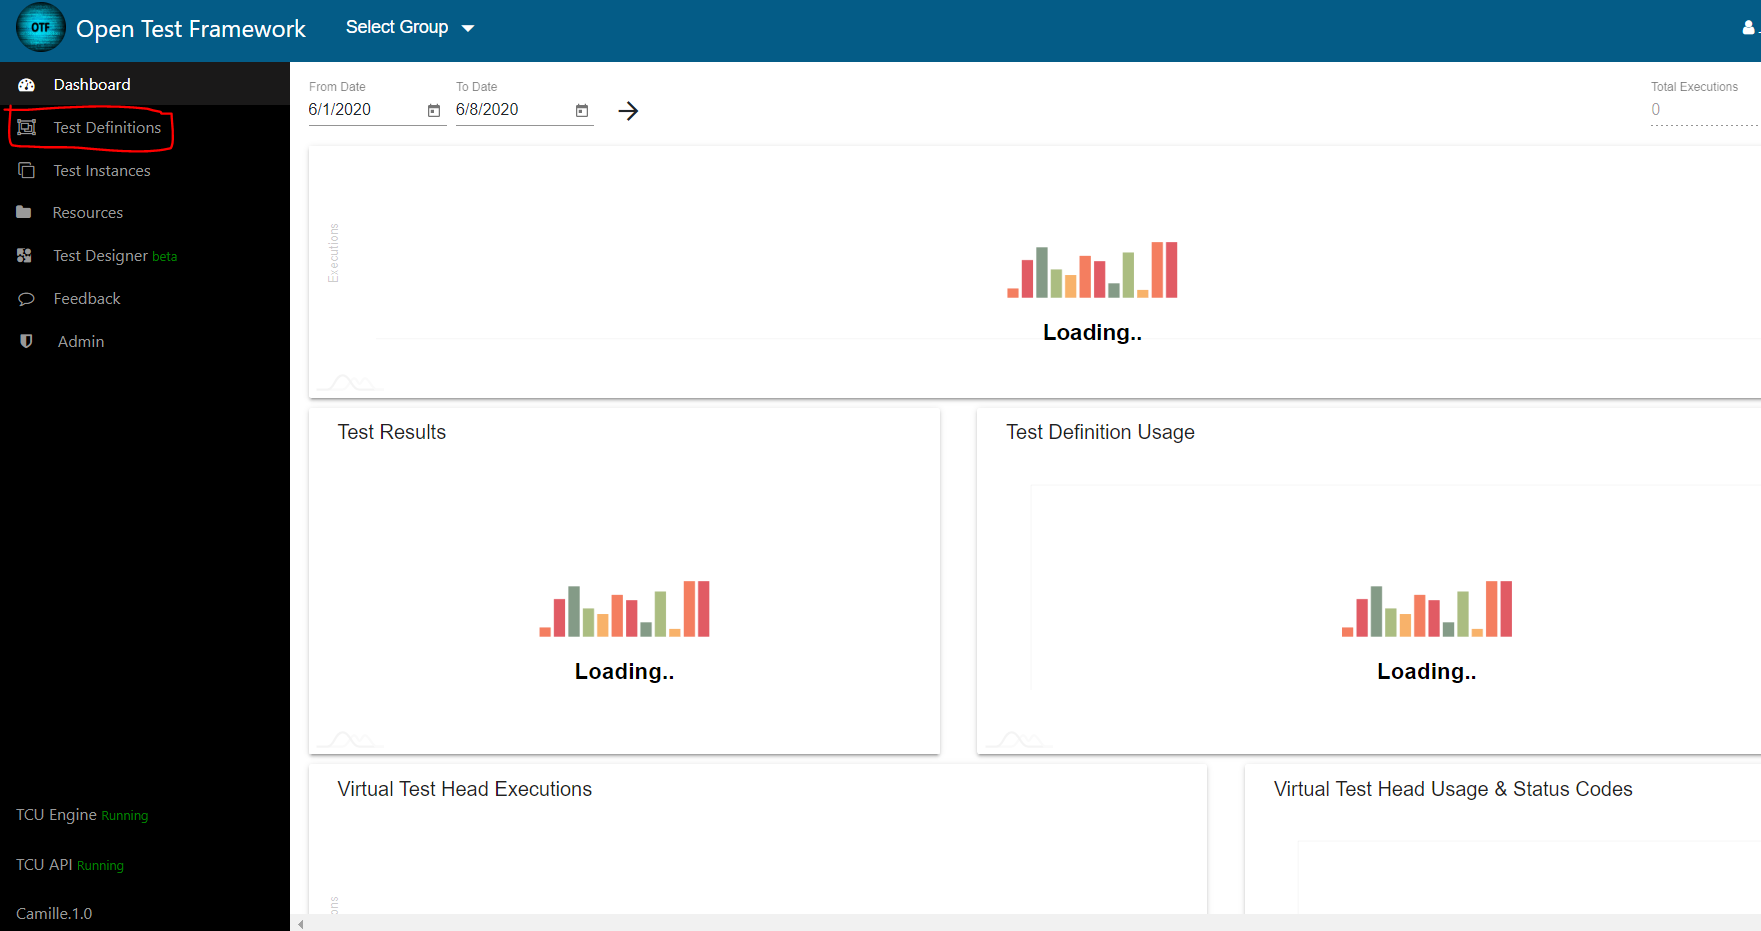
A Test Instance can be created for any Test Definition. To start, navigate to the “Test Definitions” tab on the left side panel.
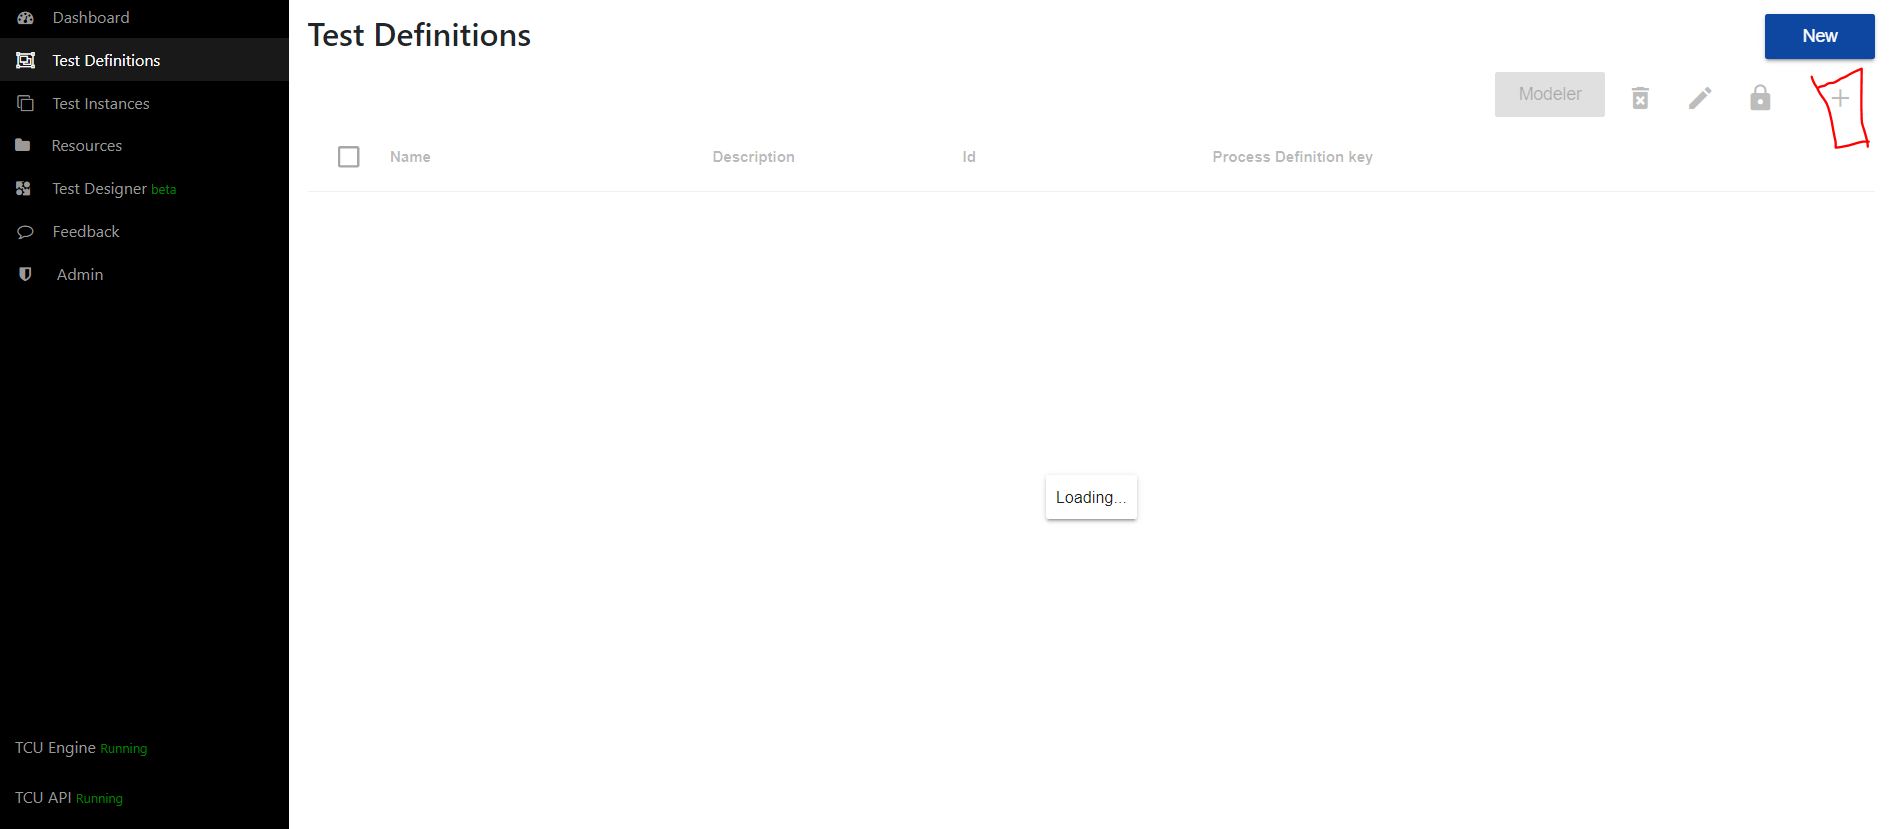
Select the specific Test Definition that would need a Test Instance. Once a single row (Test Definition) is selected, click the plus icon in the top right.
This action will open up a modal where the properties of the Test Instance are configured. If the latest version of the Test Definition workflow would like to be used, the “Latest Version” option should be in the ON position. If there is a test Input template, this information can be included during this step. For each of the VTH’s within the workflow, the specific template properties defined need to be entered. After all of the data has been entered, clicking the “Save” button in the bottom right will essentially save the Test Instance.
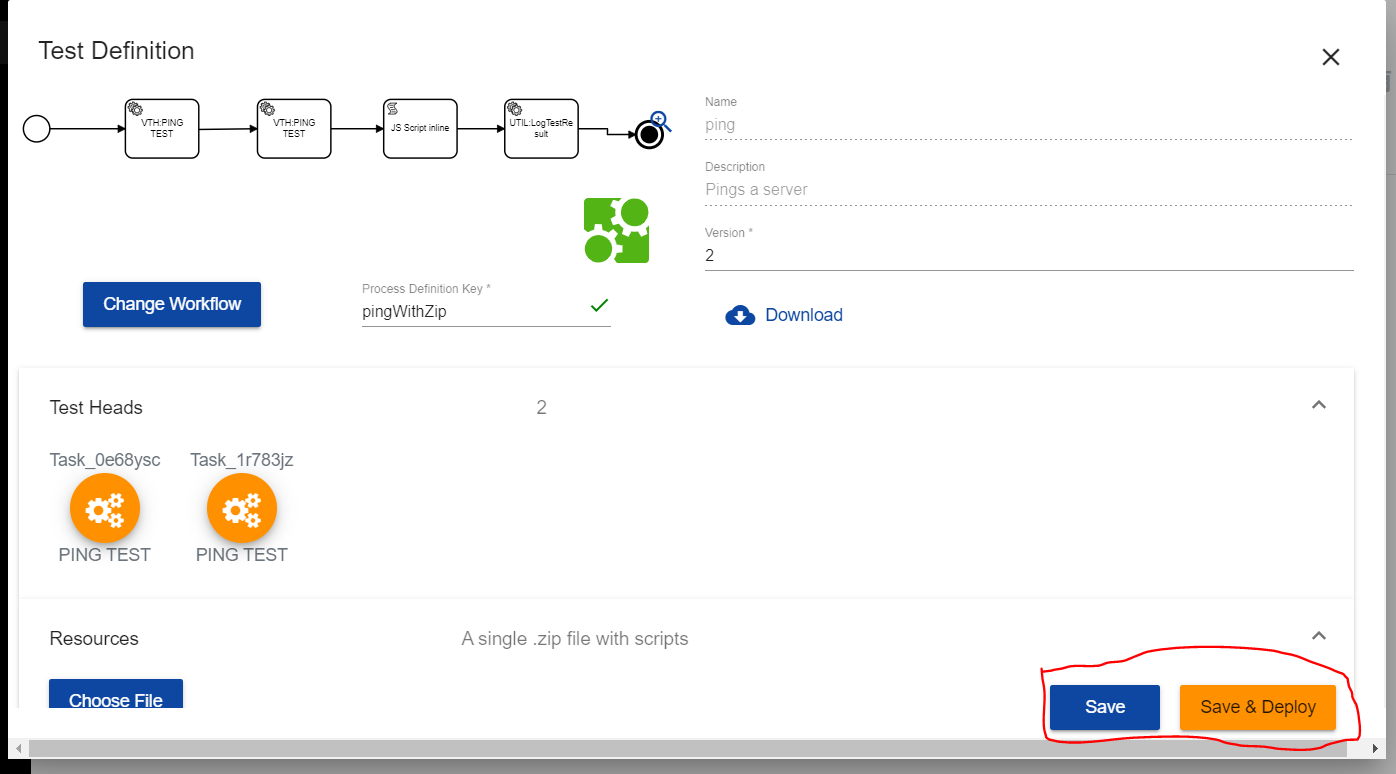
If the Test Instance would also want to be executed at this point, the “Save and Execute” button can be pressed.
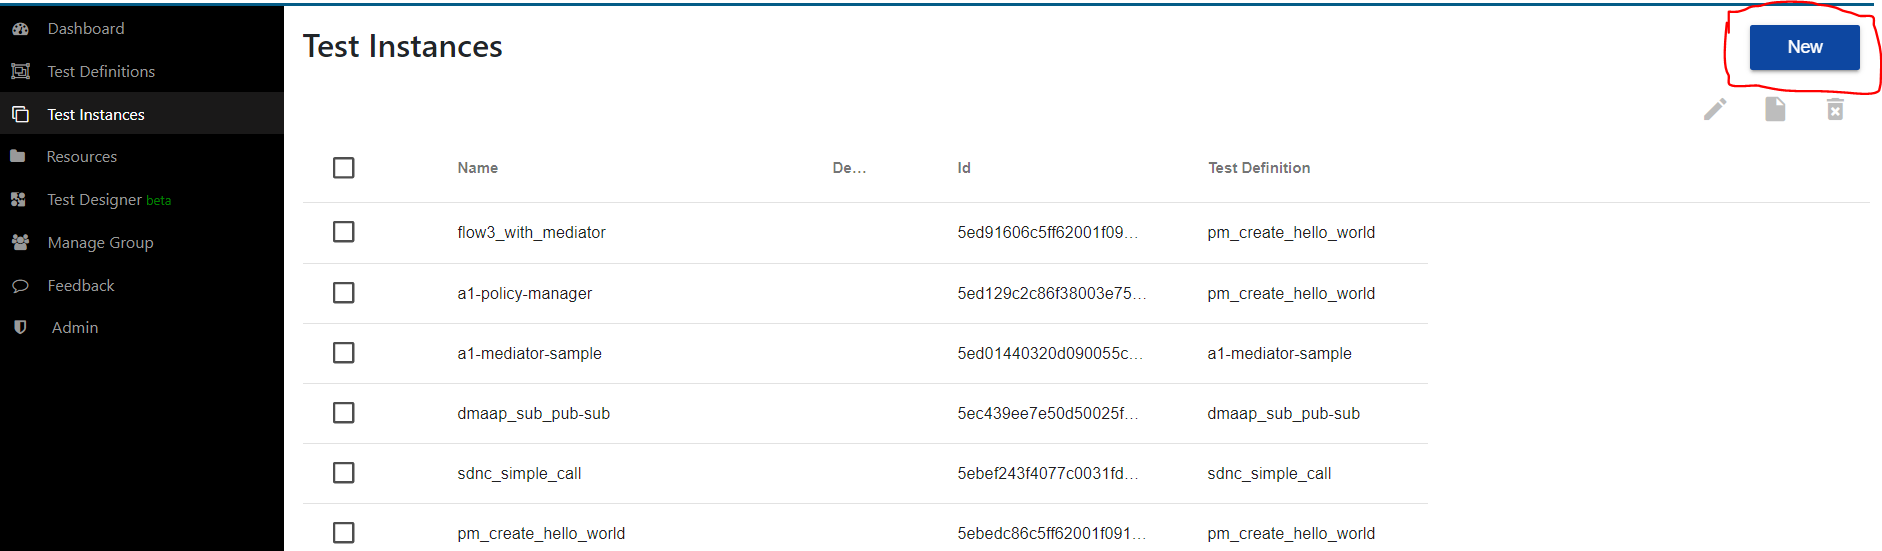
There is an additional way to create a Test Instance that follows similar steps as the process documented above. The difference is that the “New” button in the top right of the “Test Instances” page is selected. Once the modal pops up, the specific Test Definition that is being used will be selected here.
Executing the Test Instance
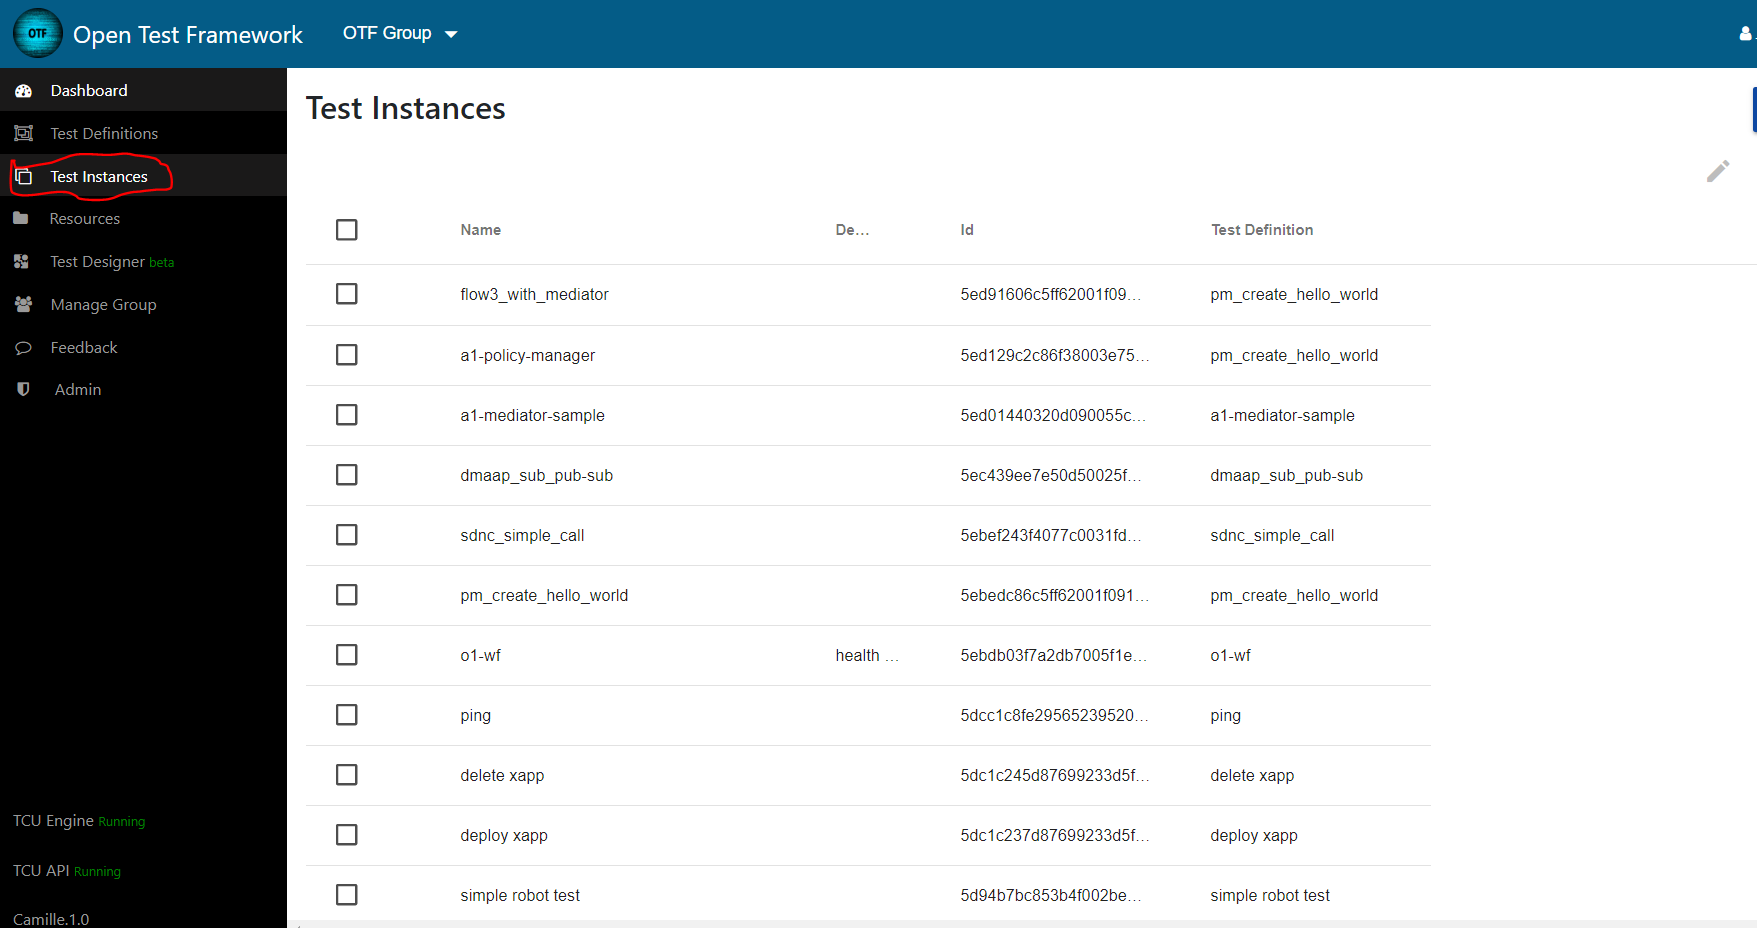
Executing a Test Instance is a fairly simple process. Executions are completed from the “Test Instances” page found on the left side panel.
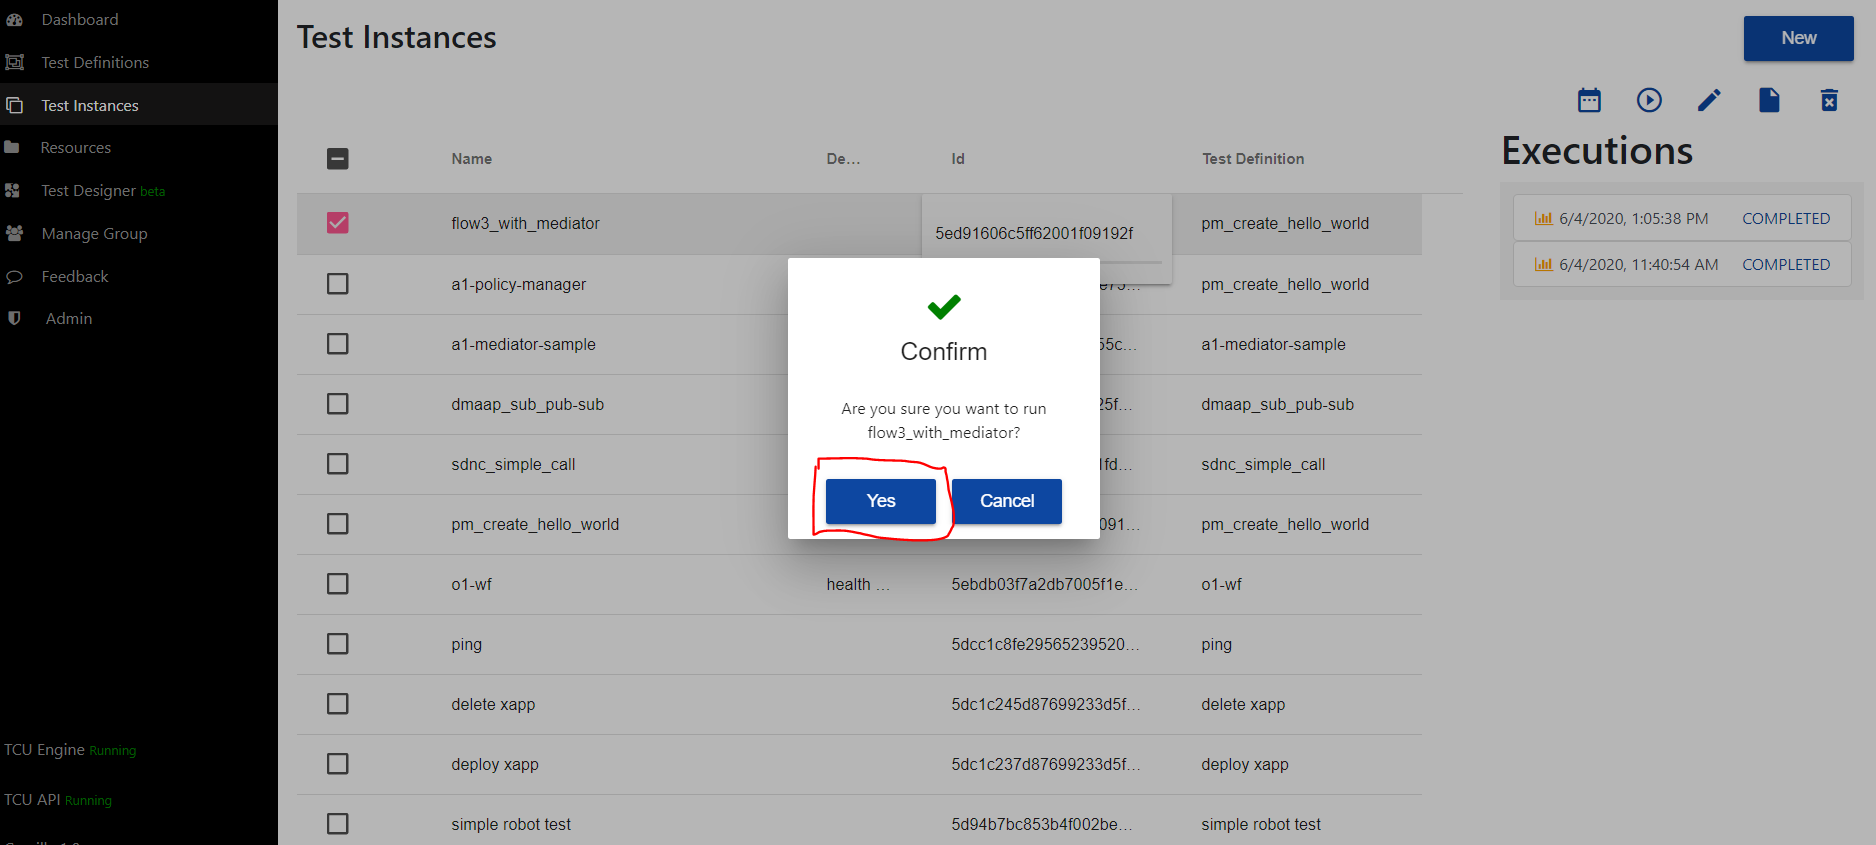
A singular Test Instance row needs to be selected. Once selected, there is a play button icon that appears in the top right.
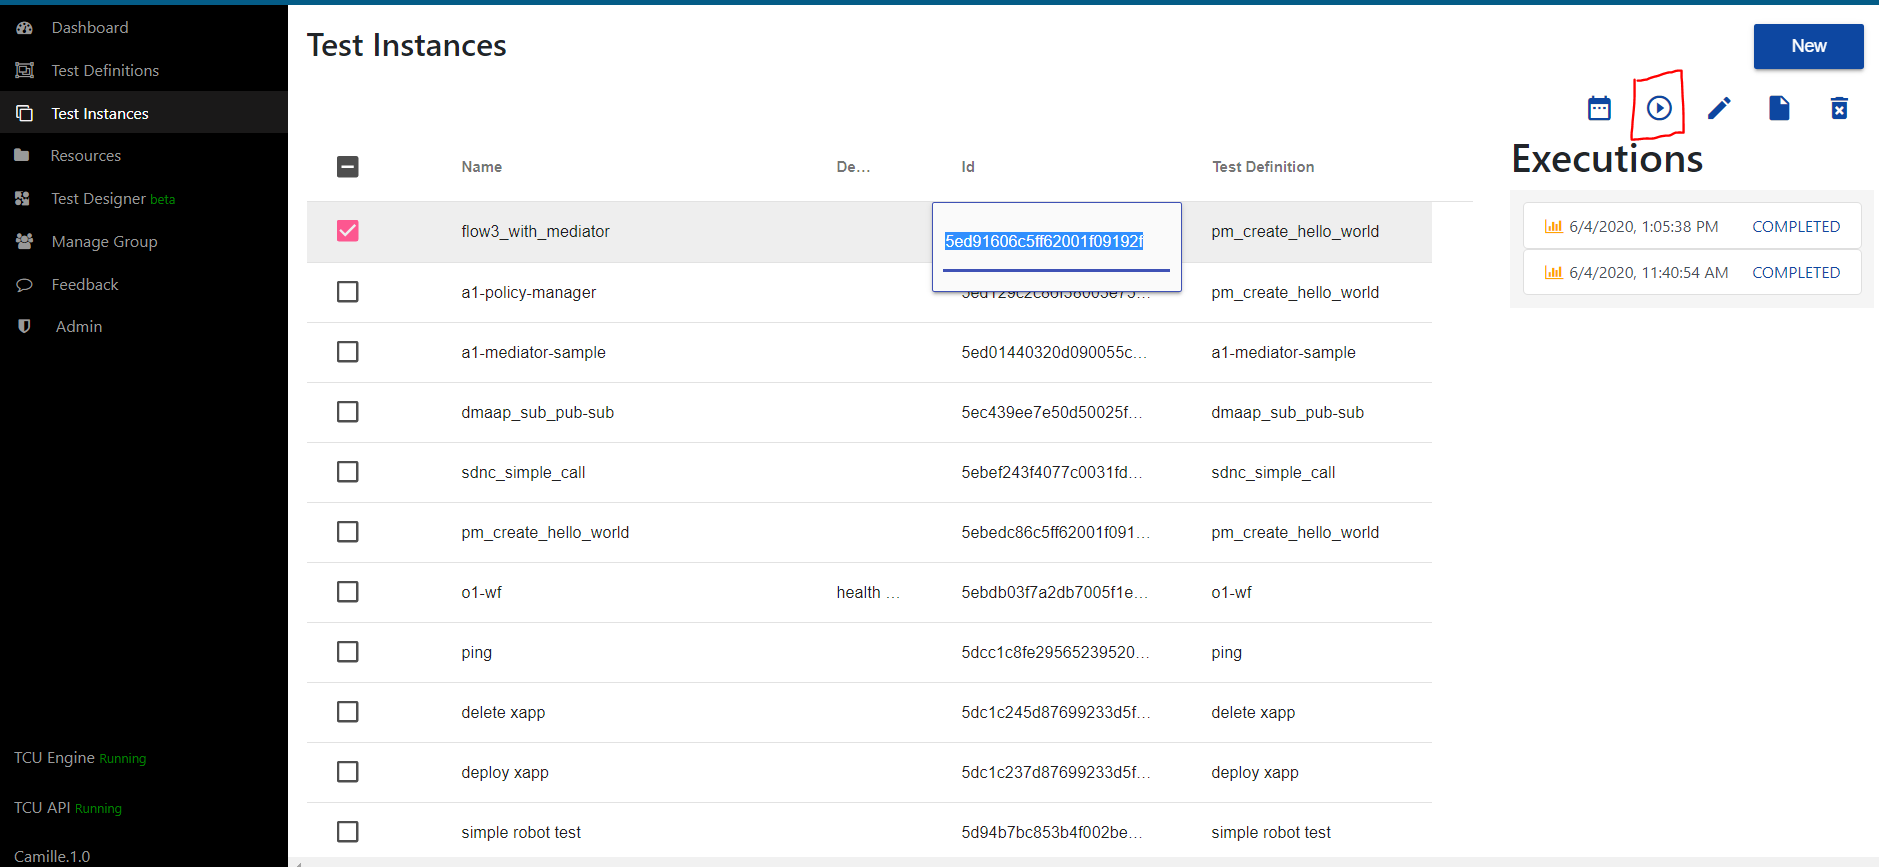
Clicking the play button will trigger a confirmation window to ensure that the execution is intentional. Once confirmed, the Test Instance will run.
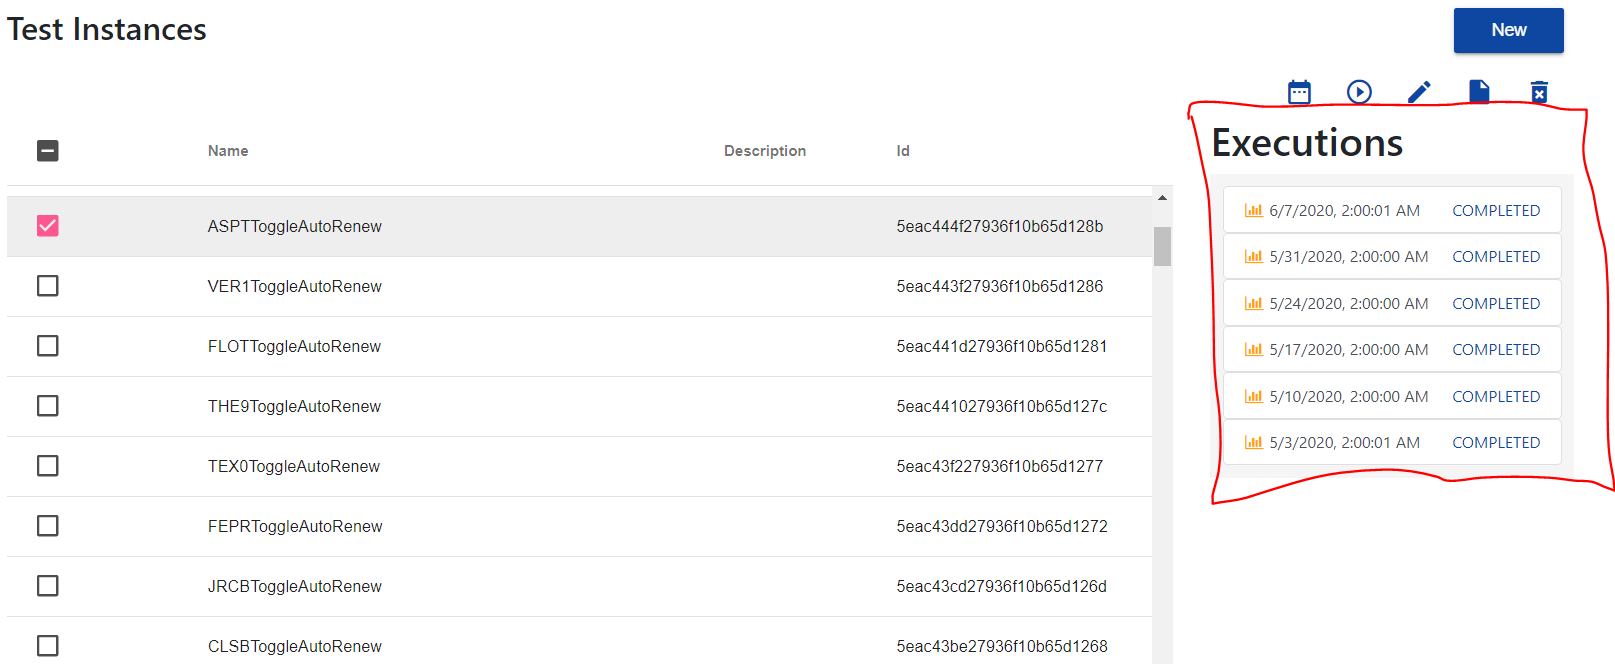
After executing, deselect and reselect the same row which will make the execution appear in the right side panel.
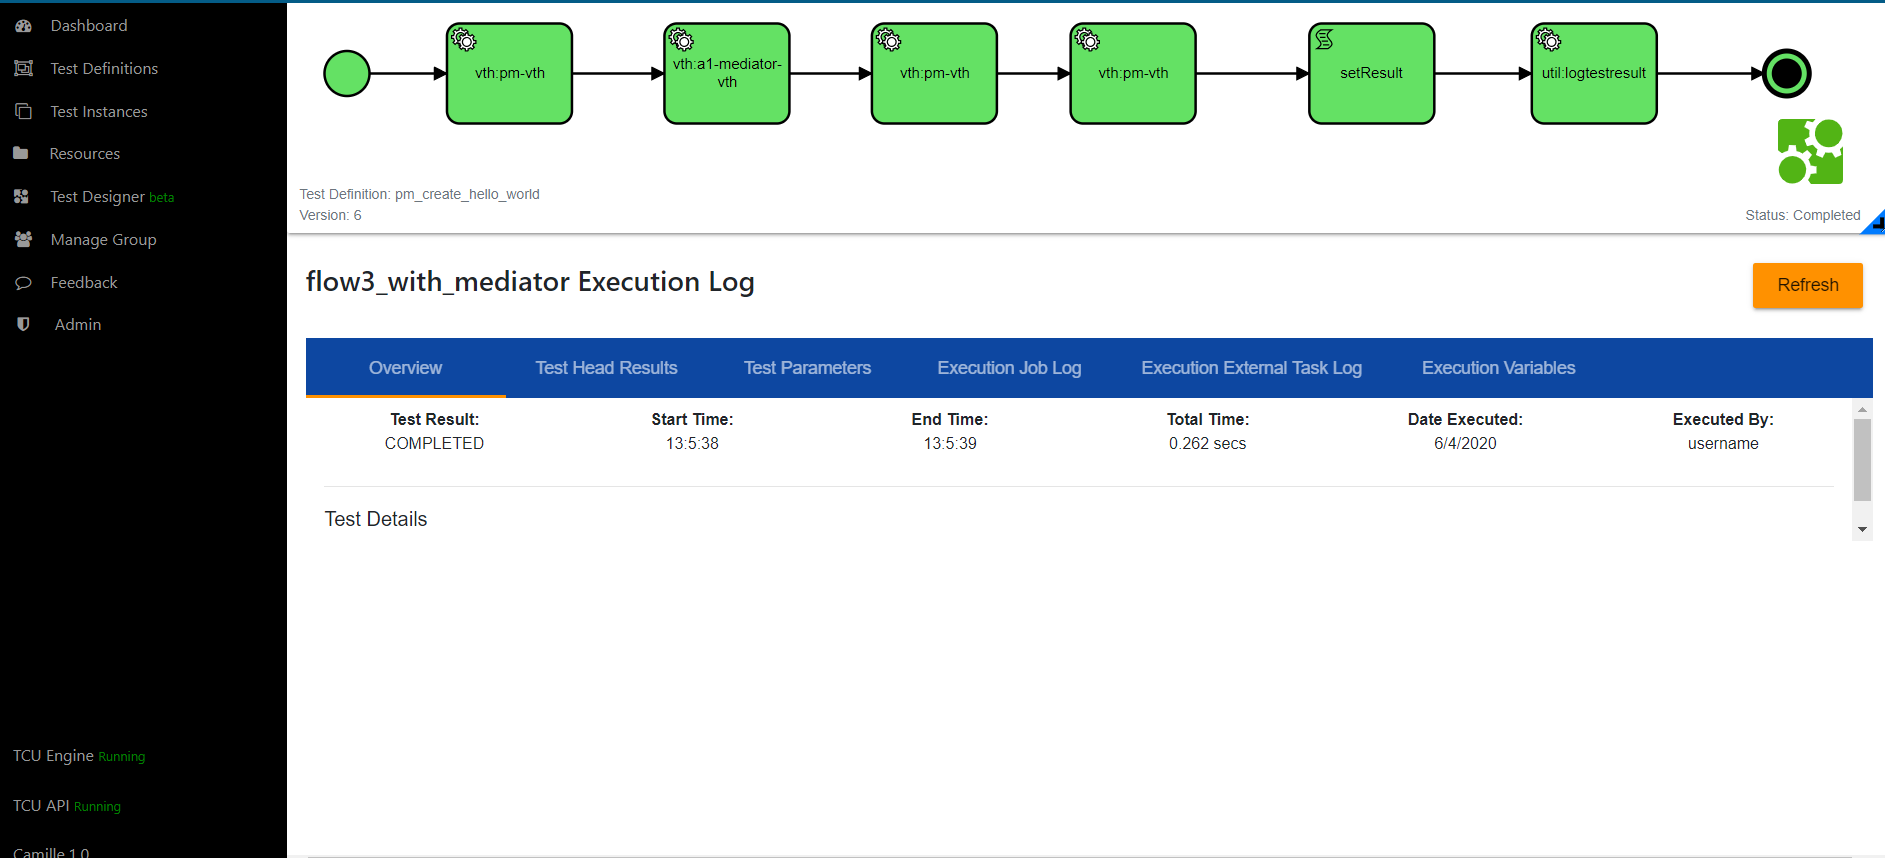
View Details of an Execution
Once a Test Instance has started running, the execution can be viewed. To view the execution, navigate to the “Test Instances” page and select the Test Instance which was ran. Once the row containing the instance has been selected, a panel on the right side will open with all of the executions listed.
Select the specific execution which needs to be viewed. In the execution viewer, the workflow can be seen at the top. When a box has been completed successfully, it will appear green. If it has not been completed, it will appear white. If it has failed, it will appear red. The “Overview” tab is where information related to the general execution of the instance is found. The “Test Head Results” tab is where data associated with the specific test heads in the workflow are found. The “Parameters” tab is where the test data and test head inputs can be found. The “Execution Job log” and “Execution External Task Log” tabs are logs used to debugging what occurred during the execution. The “Execution Variables” tab show all the properties associated with each variable during the execution.